20 years helping business leaders deliver alpha. View our success stories

20 years helping business leaders deliver alpha. View our success stories
Welcome to the Humatica client portal support page, where we provide a brief overview of how you can access our reports and validate your underlying organizational data
Once you have signed into your account, you will be taken to the default screen (Figure 1).
Upon hovering your mouse over the left icon bar you will see an expanded menu (Figure 1, inset).
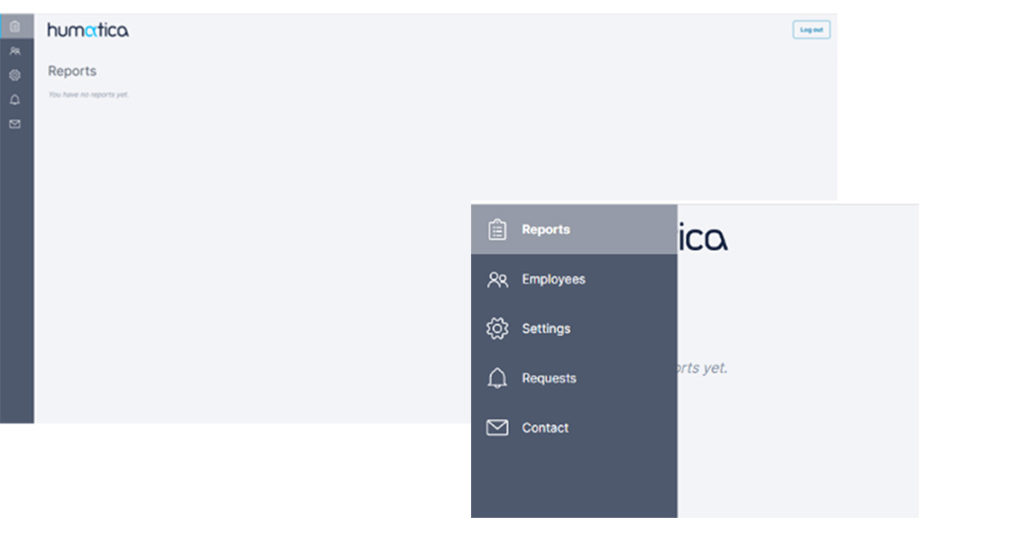
The Reports tab is where any reports or dashboards that you have been allocated to view are stored. Typically, these won’t be available until the later stages of the project once the data gathering and analysis phases have been completed.
This is where you can validate and manage employee data and team structures.
Requests from other managers show up here, these need to be reviewed and accepted or declined.
This is an easy way to reach out to us, we will get back to you promptly.
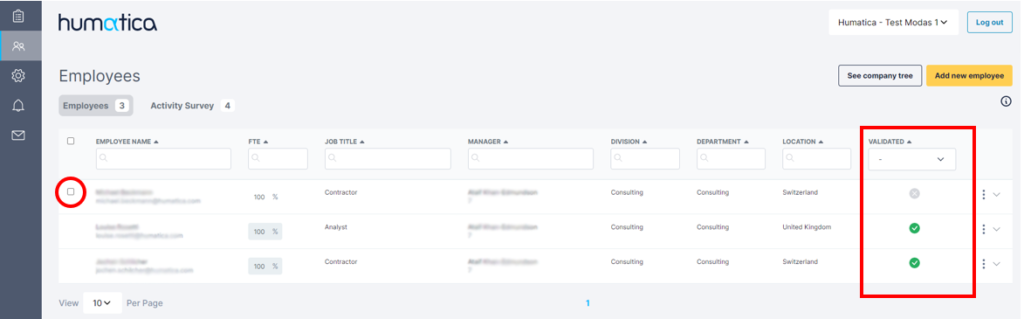
When the ‘Employees’ button is selected, you should see all the employees that are allocated to you to review. In most cases, they will be your direct reports or people downstream of your part of the organisation.
It is important that you review the people’s names and details to ensure everything is correct.
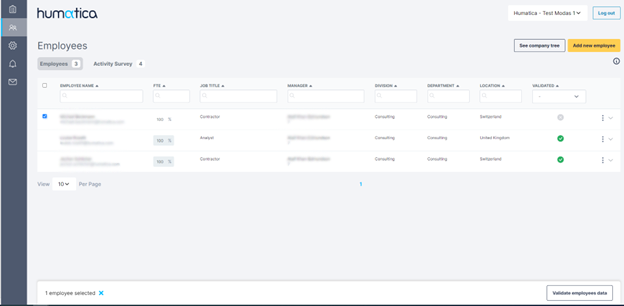
If the employee data is correct, you need to validate the data in the system. In Figure 2, you can see two of the three employees are already validated. In order to validate the third, you need to select the tick box to the left of the name which brings up a button in the bottom right corner to validate employee data (see Figure 3).
If you see there are people missing from your list, click the ‘Add new employee’ button (yellow) in the top right corner, this will bring up a new screen with a new set of steps to follow.
This functionality allows you to
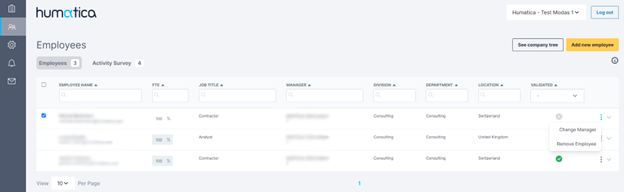
If you see that there are people in your list that have the incorrect manager, select the 3 grey dots at the end of their row (Figure 4) and select ‘Change Manager’. This will bring up a new screen with instructions on how to proceed.
This functionality allows you to
If you see that there are employees that you know have left the business, click the 3 grey dots (Figure 4) and select Remove Employee (note you will not be able to undo this step) – this will need admin approval.
In addition to the steps outlined, there is an additional feature called Team structure. Clicking the ‘Team structure’ button takes you to a new view that shows your part of the organisation as an org. chart. Clicking on downstream managers will expand/collapse their direct reports (Figure 5).

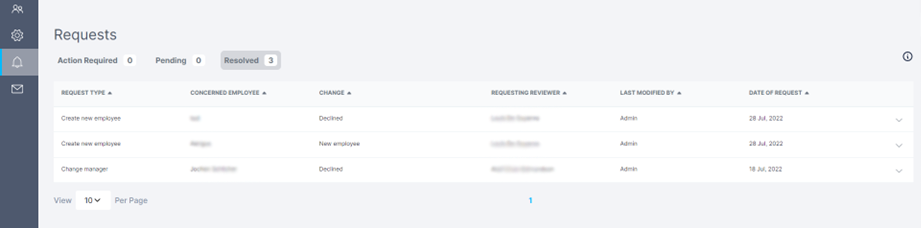
The bell icon on your left-hand sidebar brings you to the request page (see Figure 7).
From there you can see:
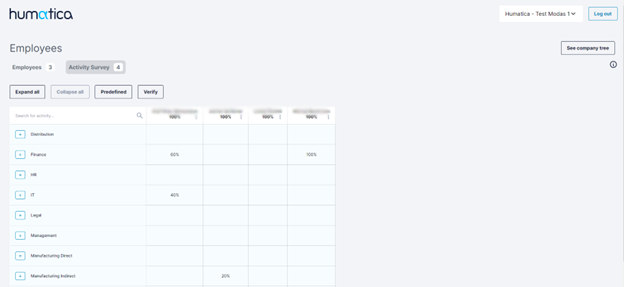
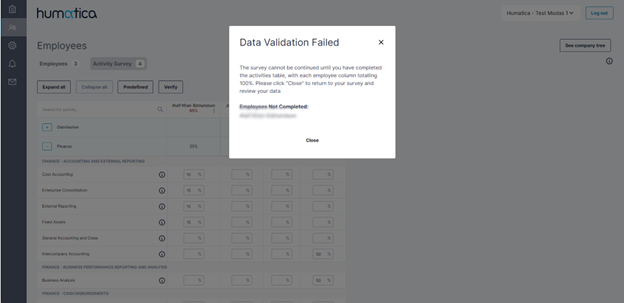
Filling out the activity survey is the next step. It is important to note that only ‘Verified’ employees will show up here, so ensure that you have verified everyone before trying to fill out their activities. Figure 7 shows the collapsed view of the activity survey. Expanding the relevant activity topics gives you a high level of granularity of different tasks that you can assign a percentage of time to for each employee (the Finance topic is expanded in Figure 8).
Clicking the ‘Verify’ button will tell you if you have completed the required information or if there is an issue / incomplete data (Figure 8).
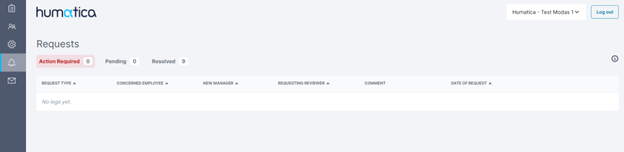
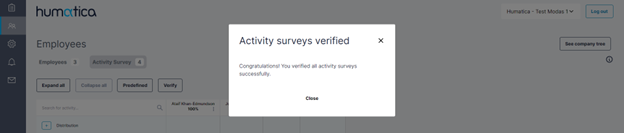
Once you have cleared all your requests (Figure 9), validated all your employees and verified (successfully) your activity survey (Figure 10) you are finished and no further action is required.
Receive our news and valuable perspectives on organizational effectiveness each month.